
John, do you know the main reasons for bike noise in high gear? This is one of the questions my readers ask a lot. Well, I´ve got you covered.
It’s common enough to hear grinding and squeaking noises in low-range (price-wise) bicycles. And we’re by no means knocking cheaper bikes but it’s not like everyone can drop $1,000+ on a premium bike and when you do, you don’t expect to get a lot of noise feedback from your gears.
The most common cause for chain noise in high gear is a misalignment between the front and the rear. But that’s not the only cause. It could be something far simpler, such as a lack of lubrication, your cassettes wearing out, and more.
Fortunately, there’s a solution for everything and none of the above is beyond fixable. A gear cable that’s become too stretched out can also be problematic and cause loud noise in high gear.
1. Misalignment: Front and Rear Derailleurs
Casual bike owners are likely to take less stock in preventative maintenance because bicycles don’t seem too complex, to begin with.
However, they are more complex than they look at first glance and preventative maintenance measures will go a long way toward a smooth, silent ride.
The most common problem is the misalignment between the derailleurs. Unless your bike never encounters anything more than a leisurely ride up the road, you may never have this problem. But the gears are complex enough that it’s easy to knock the front end out of alignment with the crankset ring.
Specifically, the outer ring. If it’s off, it will create friction and contact points between the chain and the derailleurs, which is where that high, grinding or rattling noise comes from when you shift into higher gears.
It doesn’t take much to knock the chain out of alignment—a simple rock in the road has the potential to do just that.
If you put your bike through its paces, hitting dirt paths, hiking trails, and just general mountain biking, it’s bound to happen more often than not.
How to Fix It
- Inspect your chain and gears closely
- Ensure the top of the derailleur is lined up perfectly with the large, outer ring (it should be parallel)
- Check to ensure there is a fingernail’s width gap between the ring and the derailleur
- Flip the bike over on its seat
- Check the screws on the derailleur and loosen or tighten them as needed
- Hand-operate the pedals to watch the chain work once you think you have it fixed
- Lubricate the chains and test-ride the bike
Read also >> Bike Noise When Pedaling (6 Reasons Why)
Read also >> How Often Should I Clean My Bike Chain? (Here Is Why…)
2. The Chains Need Lubrication
Sometimes the simplest answer is the one that’s sitting right there in front of you, screaming for your attention. In this case, it’s not screaming, it’s just grinding and making a lot of noise. A dry chain is one that doesn’t want to shift.
It’s more like forcing it, rather than a smooth progression through the gears. Lack of lubrication causes that “snap, crackle, pop” noise when you’re in higher gears.
If it gets bad enough, it might not shift at all or, when it does, it sounds awful.
Rust is the eventual result if you don’t lubricate your rings and chain regularly. Rust is metal’s worst enemy and when it starts, it’s hard to get rid of without removing the chain and soaking it in a degreaser.
It could possibly need a mechanized wire brush.
That’s because rust is almost always never fully presenting itself to you. You see it on the surface, but you can’t see the advancement of the rust in between the individual links.
This is where the damage is worse because the gaps between the links slide over the teeth in the rings.
How to Fix It
If there is visible rust, that needs to be tackled first and foremost. Lubricating the chain and rings alone will only place a band-aid over a festering wound.
- Inspect the bike chain thoroughly
- If you notice warping or various imperfections in the metal, caused by rust or some other damage, remove and replace the chain
- If you have to remove the chain, locate the master link first and check your drivetrain alignment
- Take a picture or write your observation down so you can replace the chain in its exact position
- Soak the chain in a bucket full of degreaser (wear latex gloves)
- Grab some steel wool and soak it in lemon juice
- Scrub the chain with the steel wool
- Rinse it off in hot water using a mild detergent
- Apply Naval Jelly to the clean but rusted sections
- Grab a drill with a wire brush tip (use the lowest RPMs possible) or grab a hand wire brush
- After the Naval Jelly has set in for half an hour, start in with the wire brush
- When the chain and teeth (rings) are clean of rust, thoroughly lubricate them
- Replace the chain
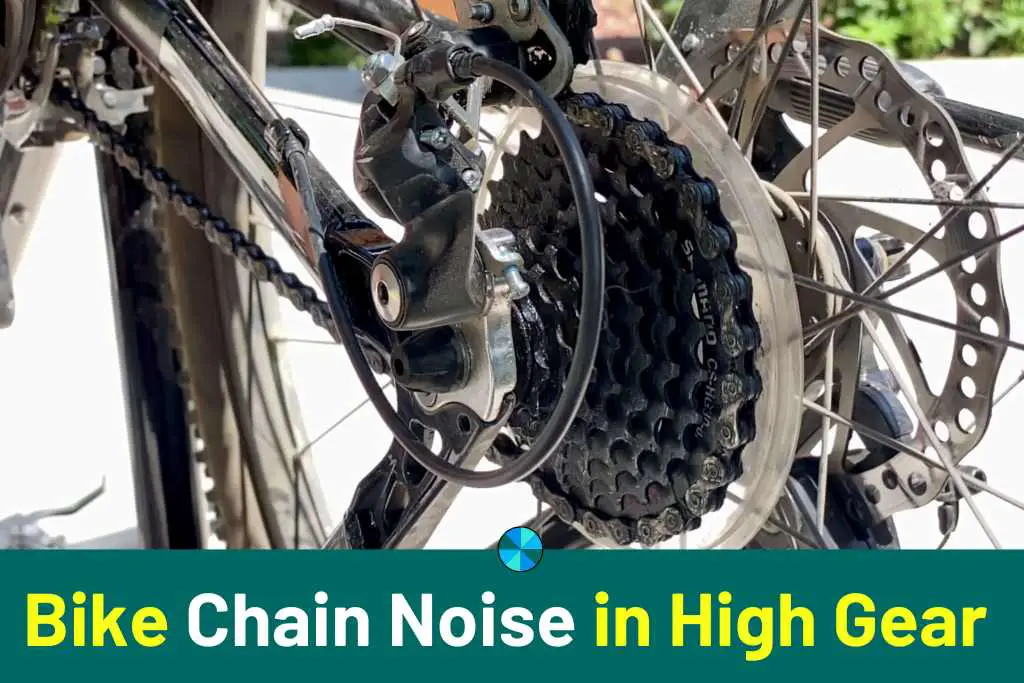
3. Worn Out Cassettes
No, these aren’t cassette tapes from the 80s. Cassettes are merely a small cluster of various sprockets on the rear wheel hub.
It’s that cluster of rings with the teeth that we mentioned above. With all of the jumping from the chain, it causes wear and tear.
While the above solution for the chain will help the chain, it’s a temporary fix for the cassettes. Once rust gets into the cassettes, it may be time to go ahead and replace them.
That’s why preventative maintenance is so important because replacement cassettes aren’t cheap.
If you have to replace the cassettes, you may as well replace the chain, unless that thing is really clean, well lubricated, and you feel confident that it’s good to go.
Replacing a cassette is relatively simple but you can see how it’s done here.
4. Stretched Out Gear Cable
It’s important for your gear cable to remain tight. You don’t want it hanging loose because it’s more difficult for immediate and precise gear changes.
This is where you get that “click, click, click” sound when they aren’t shifting in the higher gears.
How to Fix It
Fortunately, this is a simple enough solution. All you need to do is make an adjustment to the derailleur, specifically the one in the rear of the bike.
- Disconnect your gear cable
- Hand rotate the pedals forward
- When the chain drops to the smallest sprocket, stop pedaling
- Locate the “H” or “High” screw, which is located on the back of the derailleur
- Rotate the screw either clockwise or counterclockwise until the jockey wheel is directly in line with the small sprocket, up and down
- Locate the barrel adjuster on your derailleur
- Turn it clockwise until it goes as far as it will go
- Pull the cable tight
- Put the bike in third gear on the shifter
- Rotate the pedals in a forward position again
- Once it finished shifting, the jockey wheel should have moved into position at the third sprocket
- Shift the bike into the highest sprocket (lowest) gear
- Locate the “L” or “Low” screw
- Physically push the derailleur toward the wheel
- Hold it in position and screw the L clockwise until it will go no more
All Things Considered
These are the most common problems that cause noise while you are in high gear. Remember, a lot of the things on this troubleshooting list can be prevented with monthly, routine lubrication of the moving parts on your bike.
Misalignment will still happen, especially if you hit a lot of bumps or take your bike on some pretty rough rides. However, after reading this, you should have no problems setting it right again.
References
https://www.liv-cycling.com/global/campaigns/how-to-silence-common-bike-noises/21526